In this lesson, you will build the model of the Order Handling process.
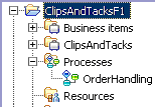
- If the OrderHandling process
is not open already, expand , and then double-click OrderHandling.
 Tip: The canvas is currently much larger than the area visible within the window. From the toolbar, click the Resize Diagram icon
 and choose from the options to resize the
process diagram. To reduce the width of the canvas, use the Decrease
Horizontal Space icon
and choose from the options to resize the
process diagram. To reduce the width of the canvas, use the Decrease
Horizontal Space icon  . To reduce the height of the
canvas, use the Decrease Vertical Space icon
. To reduce the height of the
canvas, use the Decrease Vertical Space icon  .
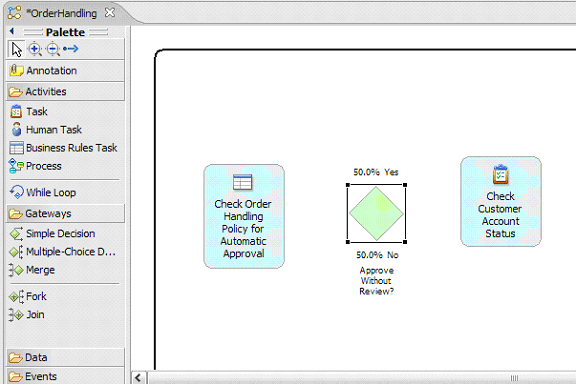
. - On the palette, click Business Rules Task and
then click the canvas. Rename the local business rules task to Check
Order Handling Policy for Automatic Approval. You can
resize the task to fully display the text if you want. Tip: You can also drag elements from the palette to the canvas.
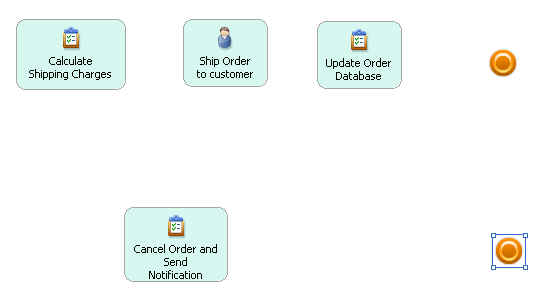
Add new elements to the right of the previously added item. An image with all the elements in the process is included in the Connecting the tasks and associating data section.

- On the palette, click Task, and
then click the canvas. Rename the task to Check Customer
Account Status. The generic task icon can be used to represent
any call to an automated service. Note: You might experience errors during this part of the tutorial because you are in the Fabric mode by default. If you do not want to experience those errors, change to the Basic mode.
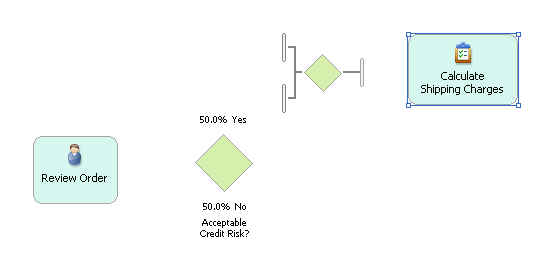
- On the palette, click Human Task,
and then click the canvas. Rename the human task to Review
Order.
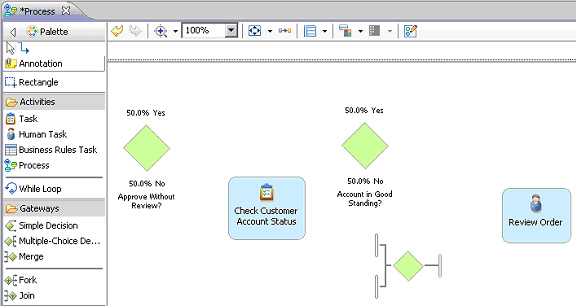
- Add a simple decision called Acceptable Credit
Risk? to the right of the previous item, a merge item
to the canvas to the right of the Acceptable Credit Risk? simple
decision, and a task called Calculate Shipping Charges to
the canvas to the right of the merge item.
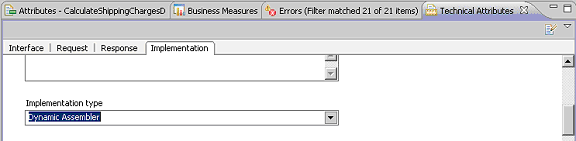
- You can now indicate what type of task this represents.
Select CalculateShippingCharges and select
the Implementation tab in the Technical Attributes
view. Scroll down and select Dynamic Assembler for the Implementation
Type. This setting enables you to add dynamic behavior
to the process.
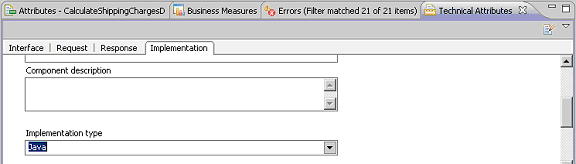
- Set the implementation types for the Check Customer Account
Status, Update Order Database, and Cancel Order and Send Notification
tasks to Java.
- Add a second Terminate node.